Views: 0 Author: Site Editor Publish Time: 2026-02-03 Origin: Site


Impact Damage: External corners in high-traffic areas are prone to dents, chips, and deformation from furniture, equipment, or accidental contact
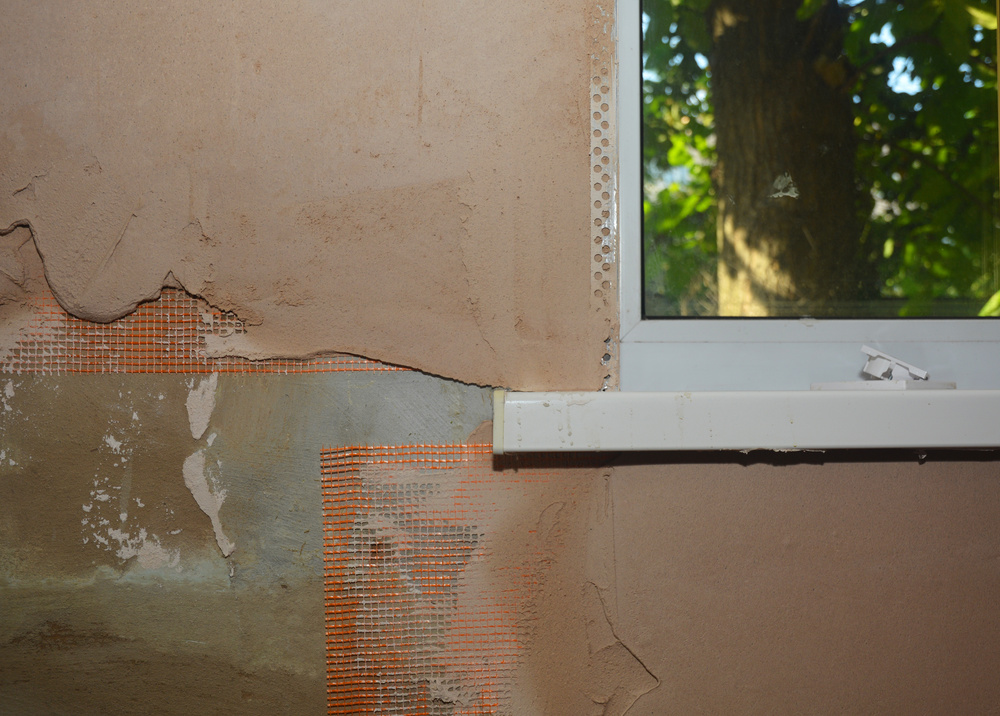
Joint Cracking: Drywall joints often develop hairline cracks due to building settlement, temperature fluctuations, or inadequate reinforcement
Moisture Penetration: Bathrooms, kitchens, and basements expose corners to humidity, leading to material degradation and mold growth
Time-Consuming Repairs: Traditional corner protection methods require multiple steps, specialized tools, and extended drying times
Aesthetic Compromises: Uneven finishes and visible seams detract from the professional appearance of interior spaces

Surface Cleaning: Remove dust, debris, and grease from wall surfaces using a damp cloth or vacuum
Corner Inspection: Check corners for existing damage, unevenness, or protrusions that require correction
Moisture Assessment: Ensure surfaces are completely dry, especially in bathrooms and basements
Tool Gathering: Prepare necessary tools including utility knife, measuring tape, level, and smoothing tools
Measure the corner length and mark the PVC corner bead accordingly
Use a utility knife or fine-tooth saw for clean, straight cuts
For outside corners, cut at 45-degree angles for seamless joins
Apply construction adhesive evenly along the back of the corner bead
For additional security, use galvanized nails or screws at 12-inch intervals
Ensure the bead sits flush against the corner without gaps
Apply joint compound over the corner bead, feathering edges smoothly
Allow to dry completely before sanding and applying additional coats
Final sanding should create a seamless transition to adjacent walls
Ensure drywall joints are clean, dry, and free of loose material
Apply a thin layer of joint compound to the joint area
Cut the self-adhesive fiberglass tape to the required length
Peel the backing paper and press the tape firmly into the joint compound
Ensure full contact along the entire length, smoothing out air bubbles
Apply a second layer of joint compound over the tape, embedding it completely
Feather edges to create a smooth, gradual transition
Allow to dry, sand lightly, and apply final finish coats
Temperature Considerations: Install at temperatures between 50-90°F (10-32°C) for optimal adhesion
Humidity Control: Avoid installation in extremely humid conditions that can affect drying times
Overlap Technique: When joining tape sections, overlap by at least 2 inches for continuous reinforcement
Feathering Technique: Always feather joint compound edges to prevent visible ridges
Safety Measures: Wear protective gloves and eye protection during cutting and installation


